It’s an exciting time to jump into virtual reality (VR), and with over 10 million consoles sold, the Meta Quest 2 is a great way to start. Like so many others worldwide, you can begin exploring new kinds of entertainment, creativity, and education. Getting used to your Meta Quest 2 can take a little practice, but once you learn the basics, you’ll soon feel at home in VR.
Meta Quest 2 User Guide
Meta Quest 2 User Guide
to save your progress
Objectives:
- Learners will be able to safely operate, maintain, and navigate their Quest 2 VR device.
- Learners will be able to navigate the Quest 2 user interface and apps.
- Learners will be able to share their VR experience with others.
Getting Started
To begin, you’ll need a Meta account, which will let you connect with friends, purchase apps, and adjust your privacy settings. Open the Meta Quest app or go online to auth.meta.com, then select one of the three options below:
- Continue with Facebook: Sign in with your Facebook username and password to create a Meta account linked to your Facebook profile and friends list.
- Continue with Instagram: Sign in with your Instagram username and password to create a Meta account linked to your Instagram profile and connections.
- Set up account with email: Enter your email, name, and birth date to create a Meta account unconnected to other social media.

No matter which option you choose, you’ll need to be at least 13 years or older to create a Meta account.
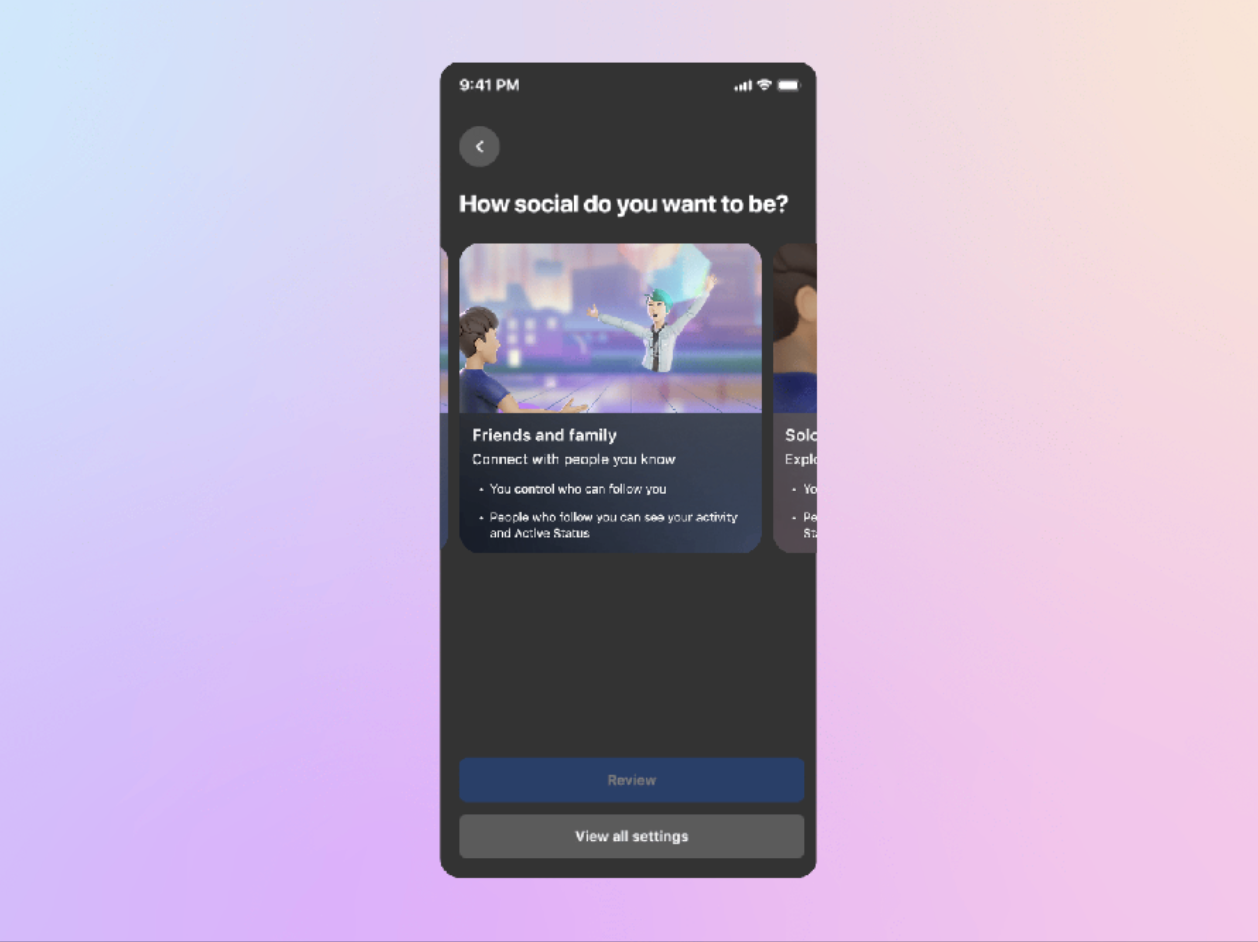
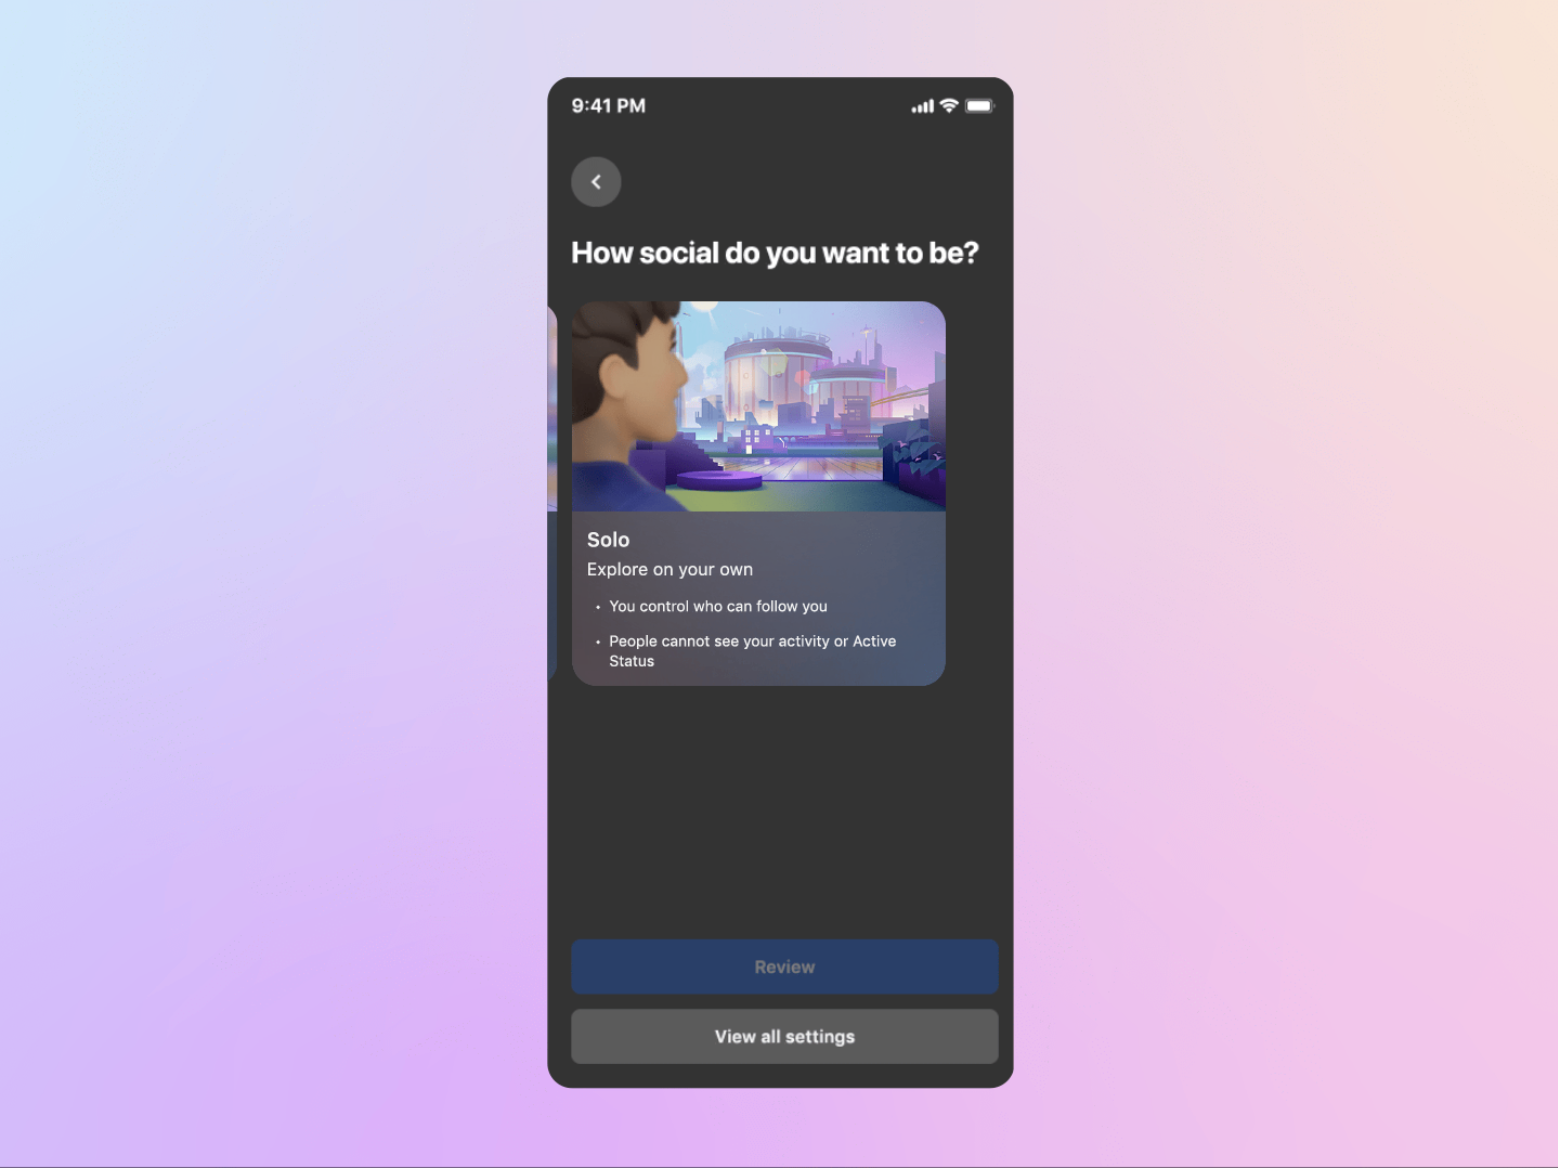
Once you’ve made your profile, it’s time to choose Privacy Settings. Select who will be allowed to find and follow your profile or see when you are online. Your options are listed below:
- Open to Everyone: Anyone online can connect with you.
- Friends and Family: You control who is able to follow you/see you online.
- Solo: You control who is able to follow you, but no one sees your online activity.
Users below the age of 18 will have their Privacy set to Solo by Default.
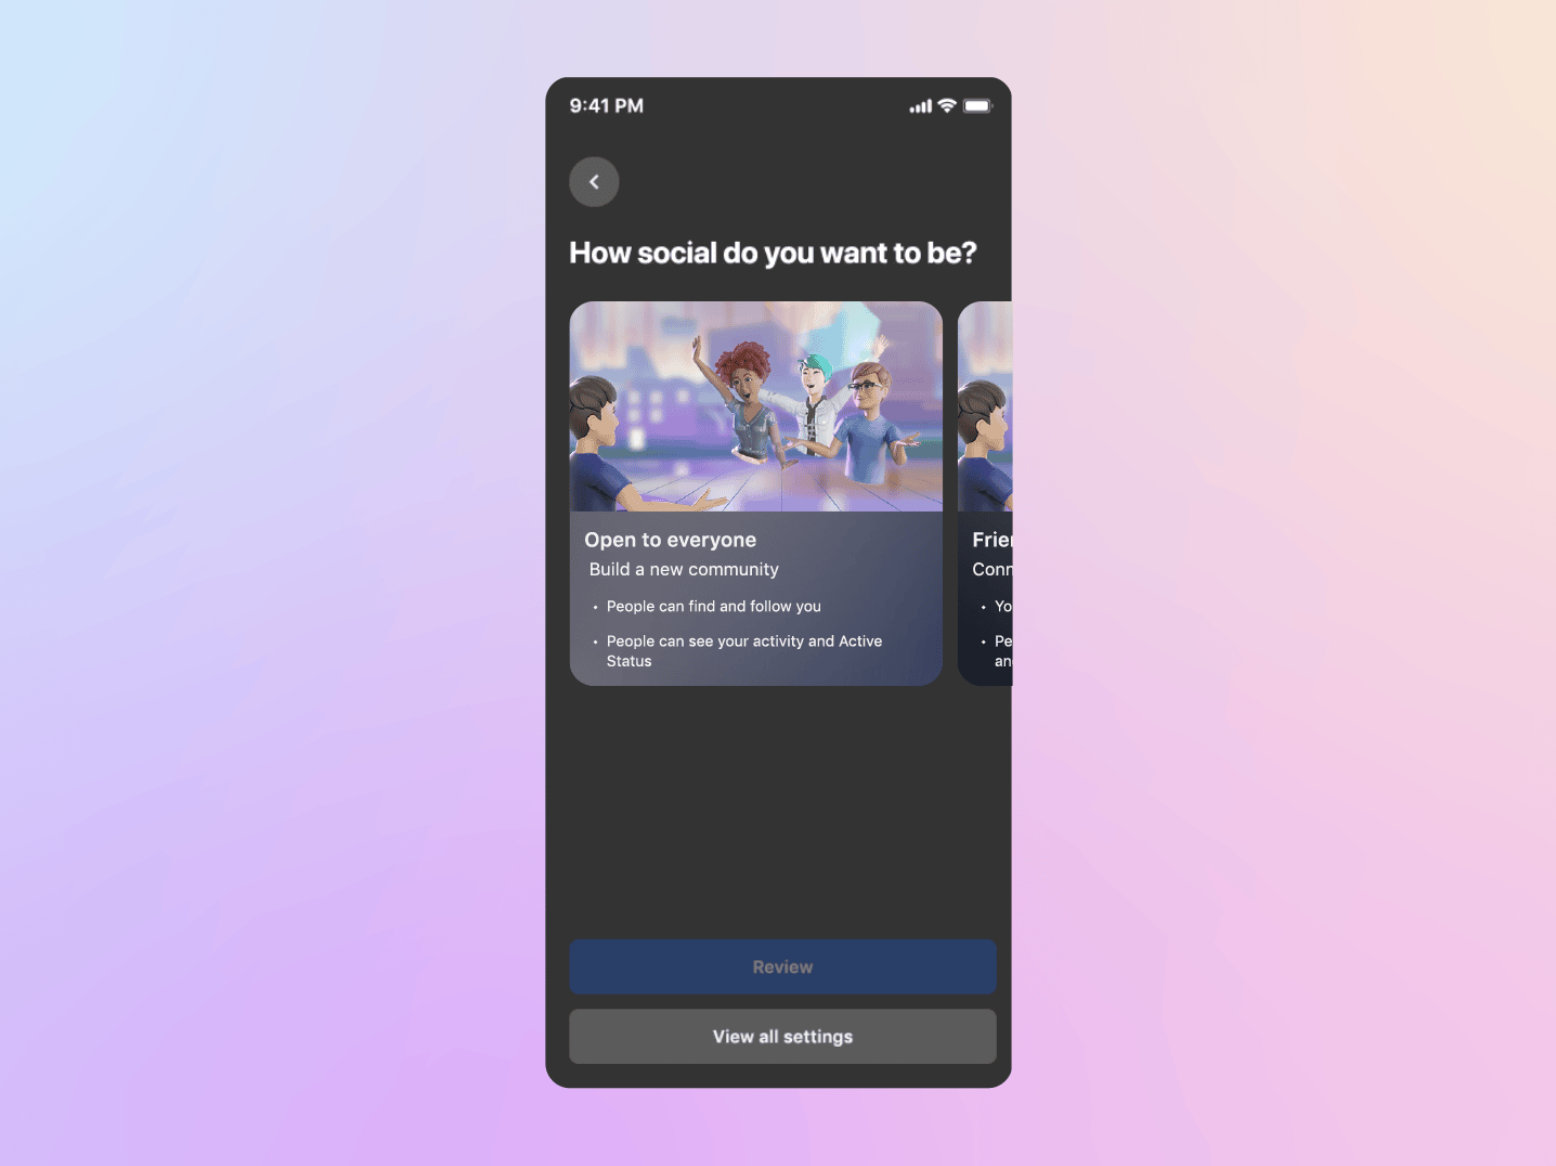
REPLACE FRIENDS AND FAMILY GRAPHIC ABOVE.
When your account is set up, you’ll be ready to pair your Touch controllers with your Quest 2 headset. You’ll need to complete this step to use the menus and apps in VR. Follow Meta’s instructions to continue.
Set aside time to update the Quest 2 software before you plan to start using your device: This is a Meta requirement.
Safety
Watch the video below for an overview of some key safety guidelines for the Meta Quest 2. The rest of this section will cover these topics in more detail.
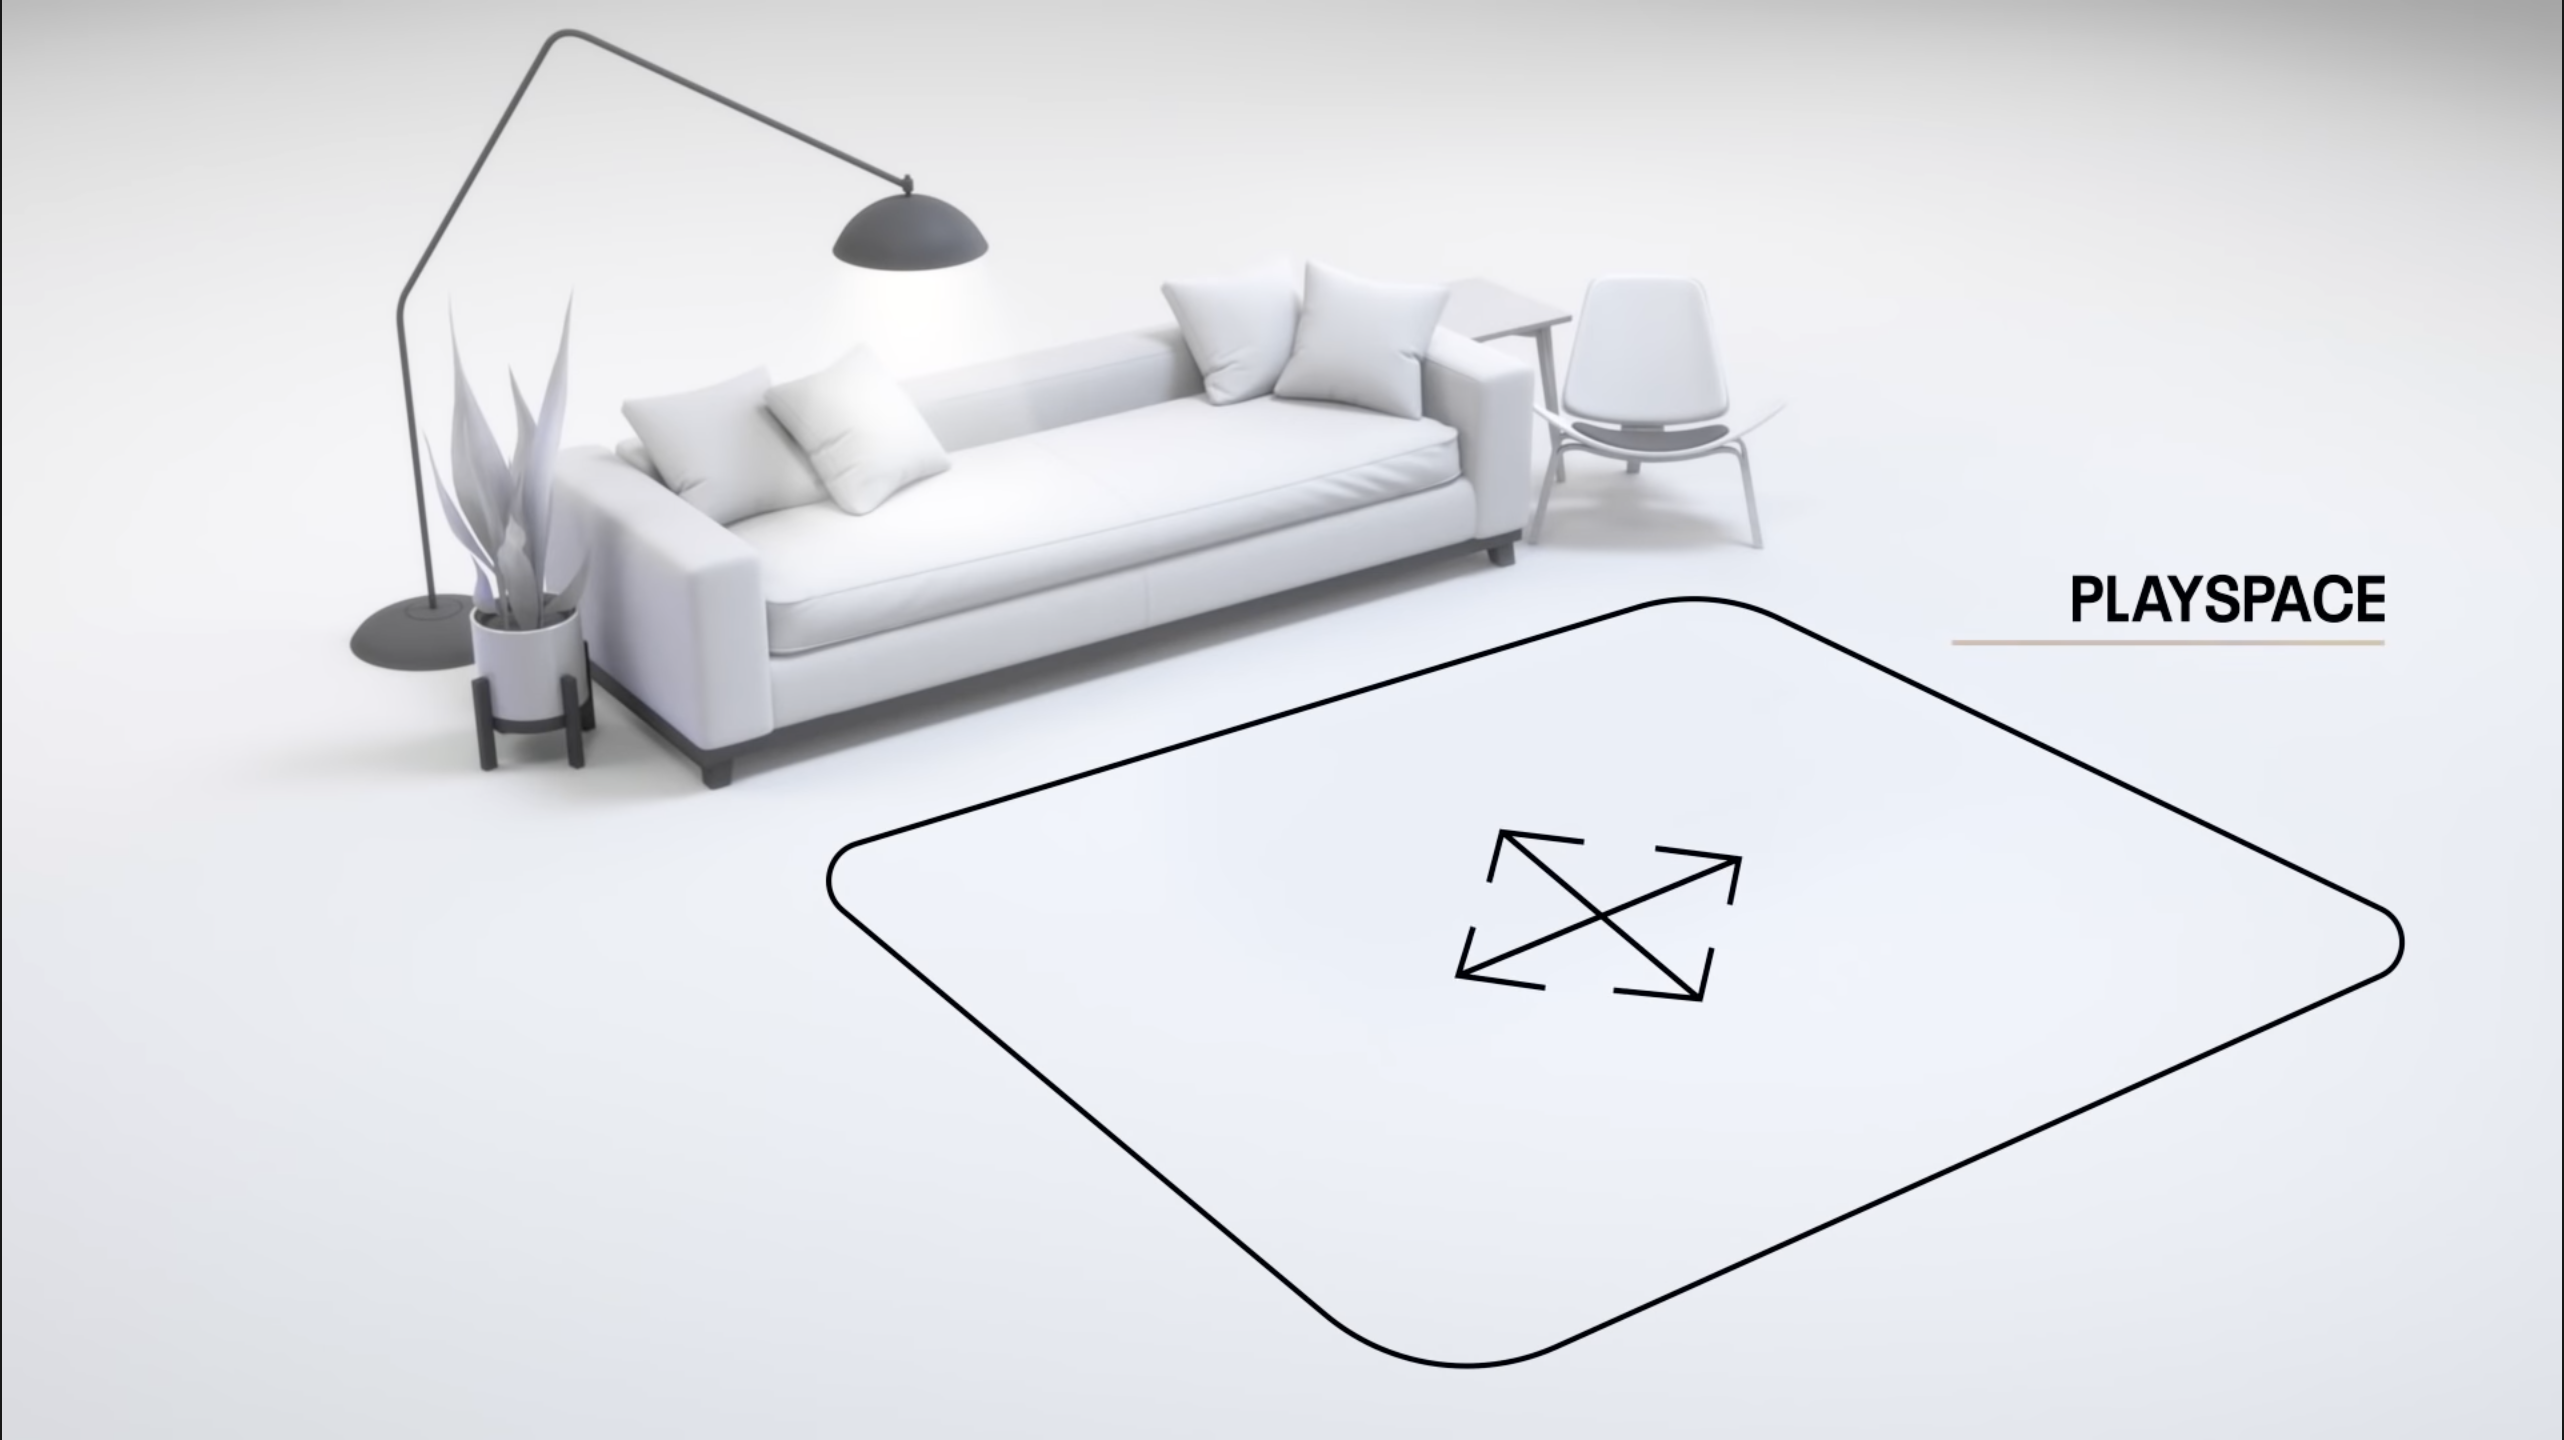
Setting the Guardian Boundary
The Guardian Boundary is a key safety feature for your Meta VR devices. This feature allows you to trace a safe space to interact with VR effects. When you are near the boundary, a colorful grid will warn you; when you move outside of this space, the cameras on your headset will activate, and you’ll see the room around you in the Passthrough feature. Pay attention to these effects to prevent injuries from colliding with objects or others in the room.
The Guardian Boundary can’t detect what is above your headset, so be careful not to use your device in areas with low ceilings or hanging fans.
There are two player modes for the Guardian Boundary. It is important to choose the mode best suited for the space available. Review the options below.
- Stationary: The Stationary Boundary sets up a small play space around you, which you can use sitting or standing. Make sure the area is clear of obstacles. This is a great choice for getting started quickly or playing in a room without much free space. Set the floor level by lowering a controller to the floor and pressing Confirm. Then select Switch to Stationary Boundary.
- Roomscale: The Roomscale Boundary creates a large play area around you, which allows you to move around a room while using your headset. Meta suggests using a 6.5’ x 6.5’ or larger space for the Roomspace Boundary. Set the floor level by lowering a controller to the floor and pressing Confirm. When you see the instruction to draw a boundary, point one of the controllers at the floor, then pull and hold the trigger. Move the controller to draw the outer lines of your play space. Then click Confirm again.
You can activate the Quest 2’s advanced boundary functions for extra safety. To get a better idea of where your boundaries are, go to the settings menu by clicking the Oculus button, pointing at the gear icon, and then selecting the Guardian tile. Under Roomscale, you’ll see a setting for Glanceable Boundary. Select this option (the icon should turn blue) to see the edges of the boundary any time you look down in a Roomscale Guardian. You can also make it easier to see what’s around you by clicking the General tab in your Guardian settings and selecting Double Tap for Passthrough. This allows you to see the room around you without removing your headset. At any time, tap your finger twice against the left or right side of your headset to activate Passthrough. Tap twice again to return to VR.
Safe Play Spaces
The Quest 2 will cut off your view of everything inside the Guardian Boundary, so you MUST clear your play space before you begin. Make sure the floor space around you is flat and clear of all objects you may collide with or trip on. Give yourself extra space from any furniture or walls. No one else should enter your Guardian Boundary while your headset is on. Keep pets or small children in another room while you use VR. This will prevent accidents from them entering your play space while you can't see them.
If possible, try to have soft, smooth flooring available (like carpet or floor padding) in your play space.
Proper Device Use
You should read through the Meta Quest 2 Safety Manual before using the device. Pay special attention to the safety guidelines below.
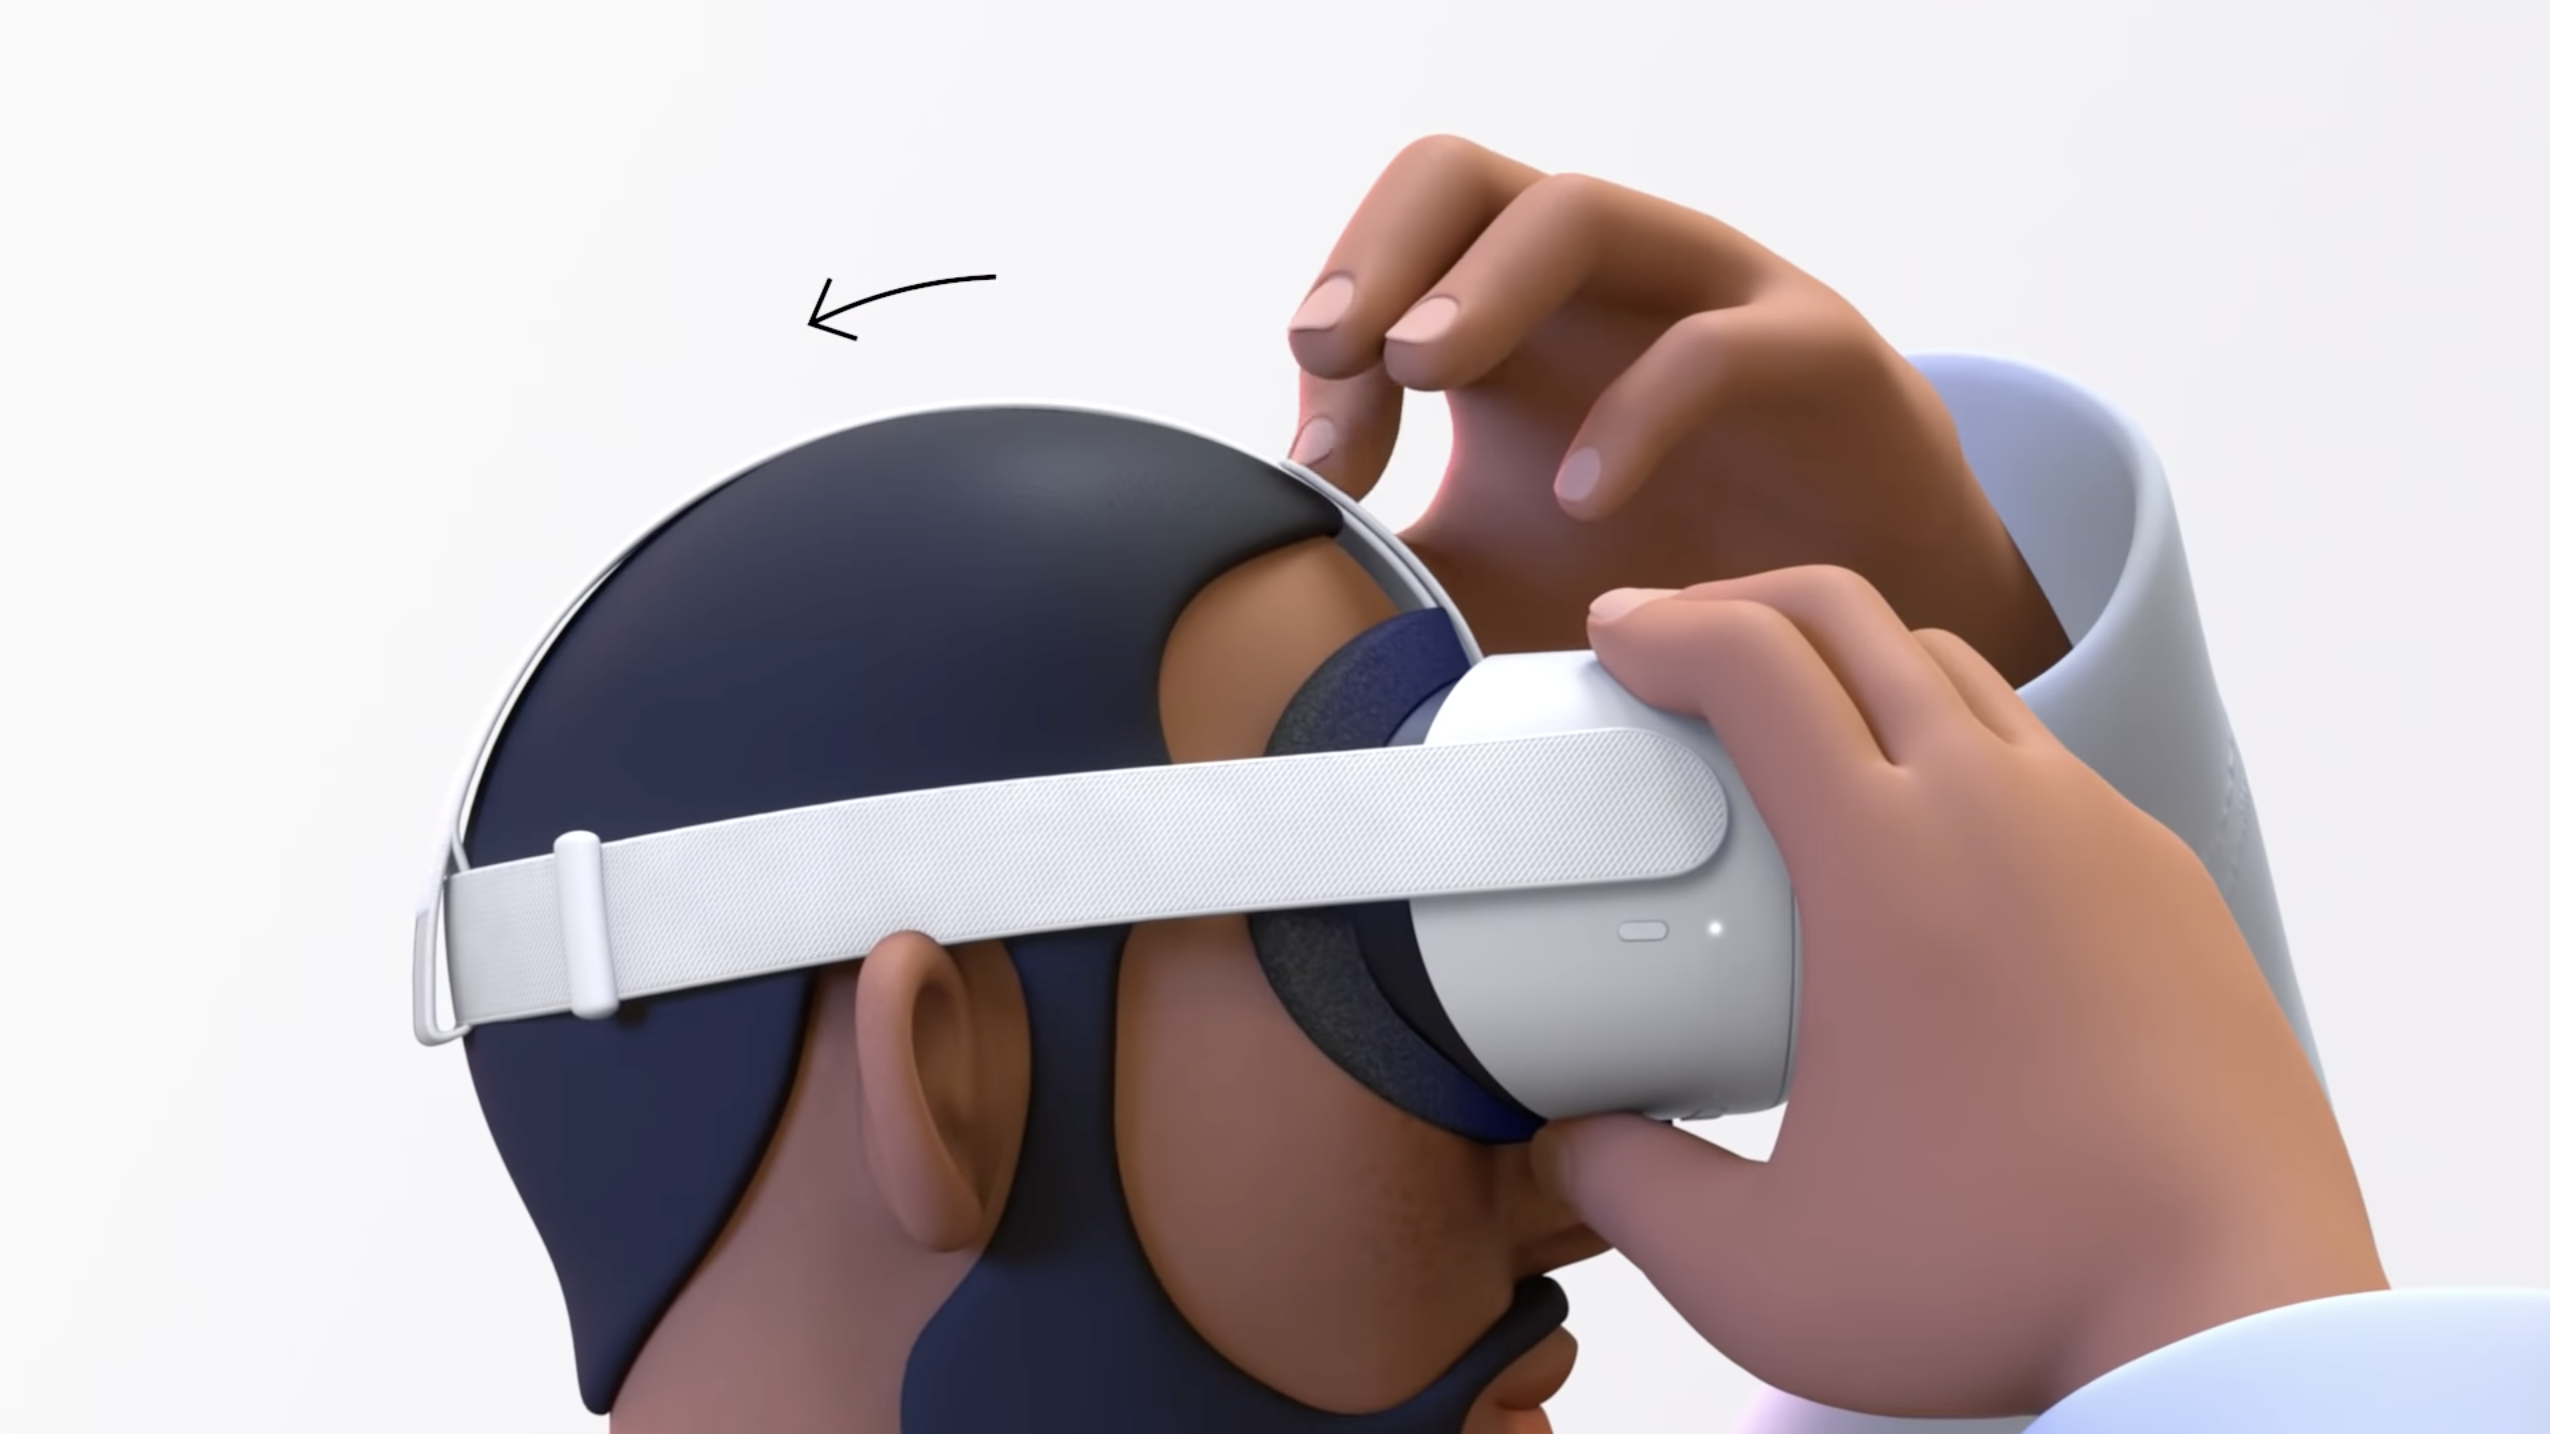
- Headset Safety: Before starting your device, make sure your headset is correctly fitted to your head. Pull and fasten the back and top straps until the headset does not slide when you turn or nod your head. If your Quest 2 has the Elite strap, adjust the circular wheel at the back of the strap until the fit feels right.
- Preventing Eye Strain: Adjust the lenses by pushing them closer together or farther apart until you can clearly see the VR environment when you wear the headset. Do NOT use the headset if it fits poorly or your screen is blurry.
If you’re having trouble fitting your glasses into your Quest 2 headset, unclip the foam lining from the headset by pressing on the clips above the left and right eyes. Insert the Glasses Spacer (the plastic headset-shaped piece from the Quest 2 case) by snapping it into place around the lenses. Finally, reclip the foam lining. You should now have room to wear your glasses inside the headset.
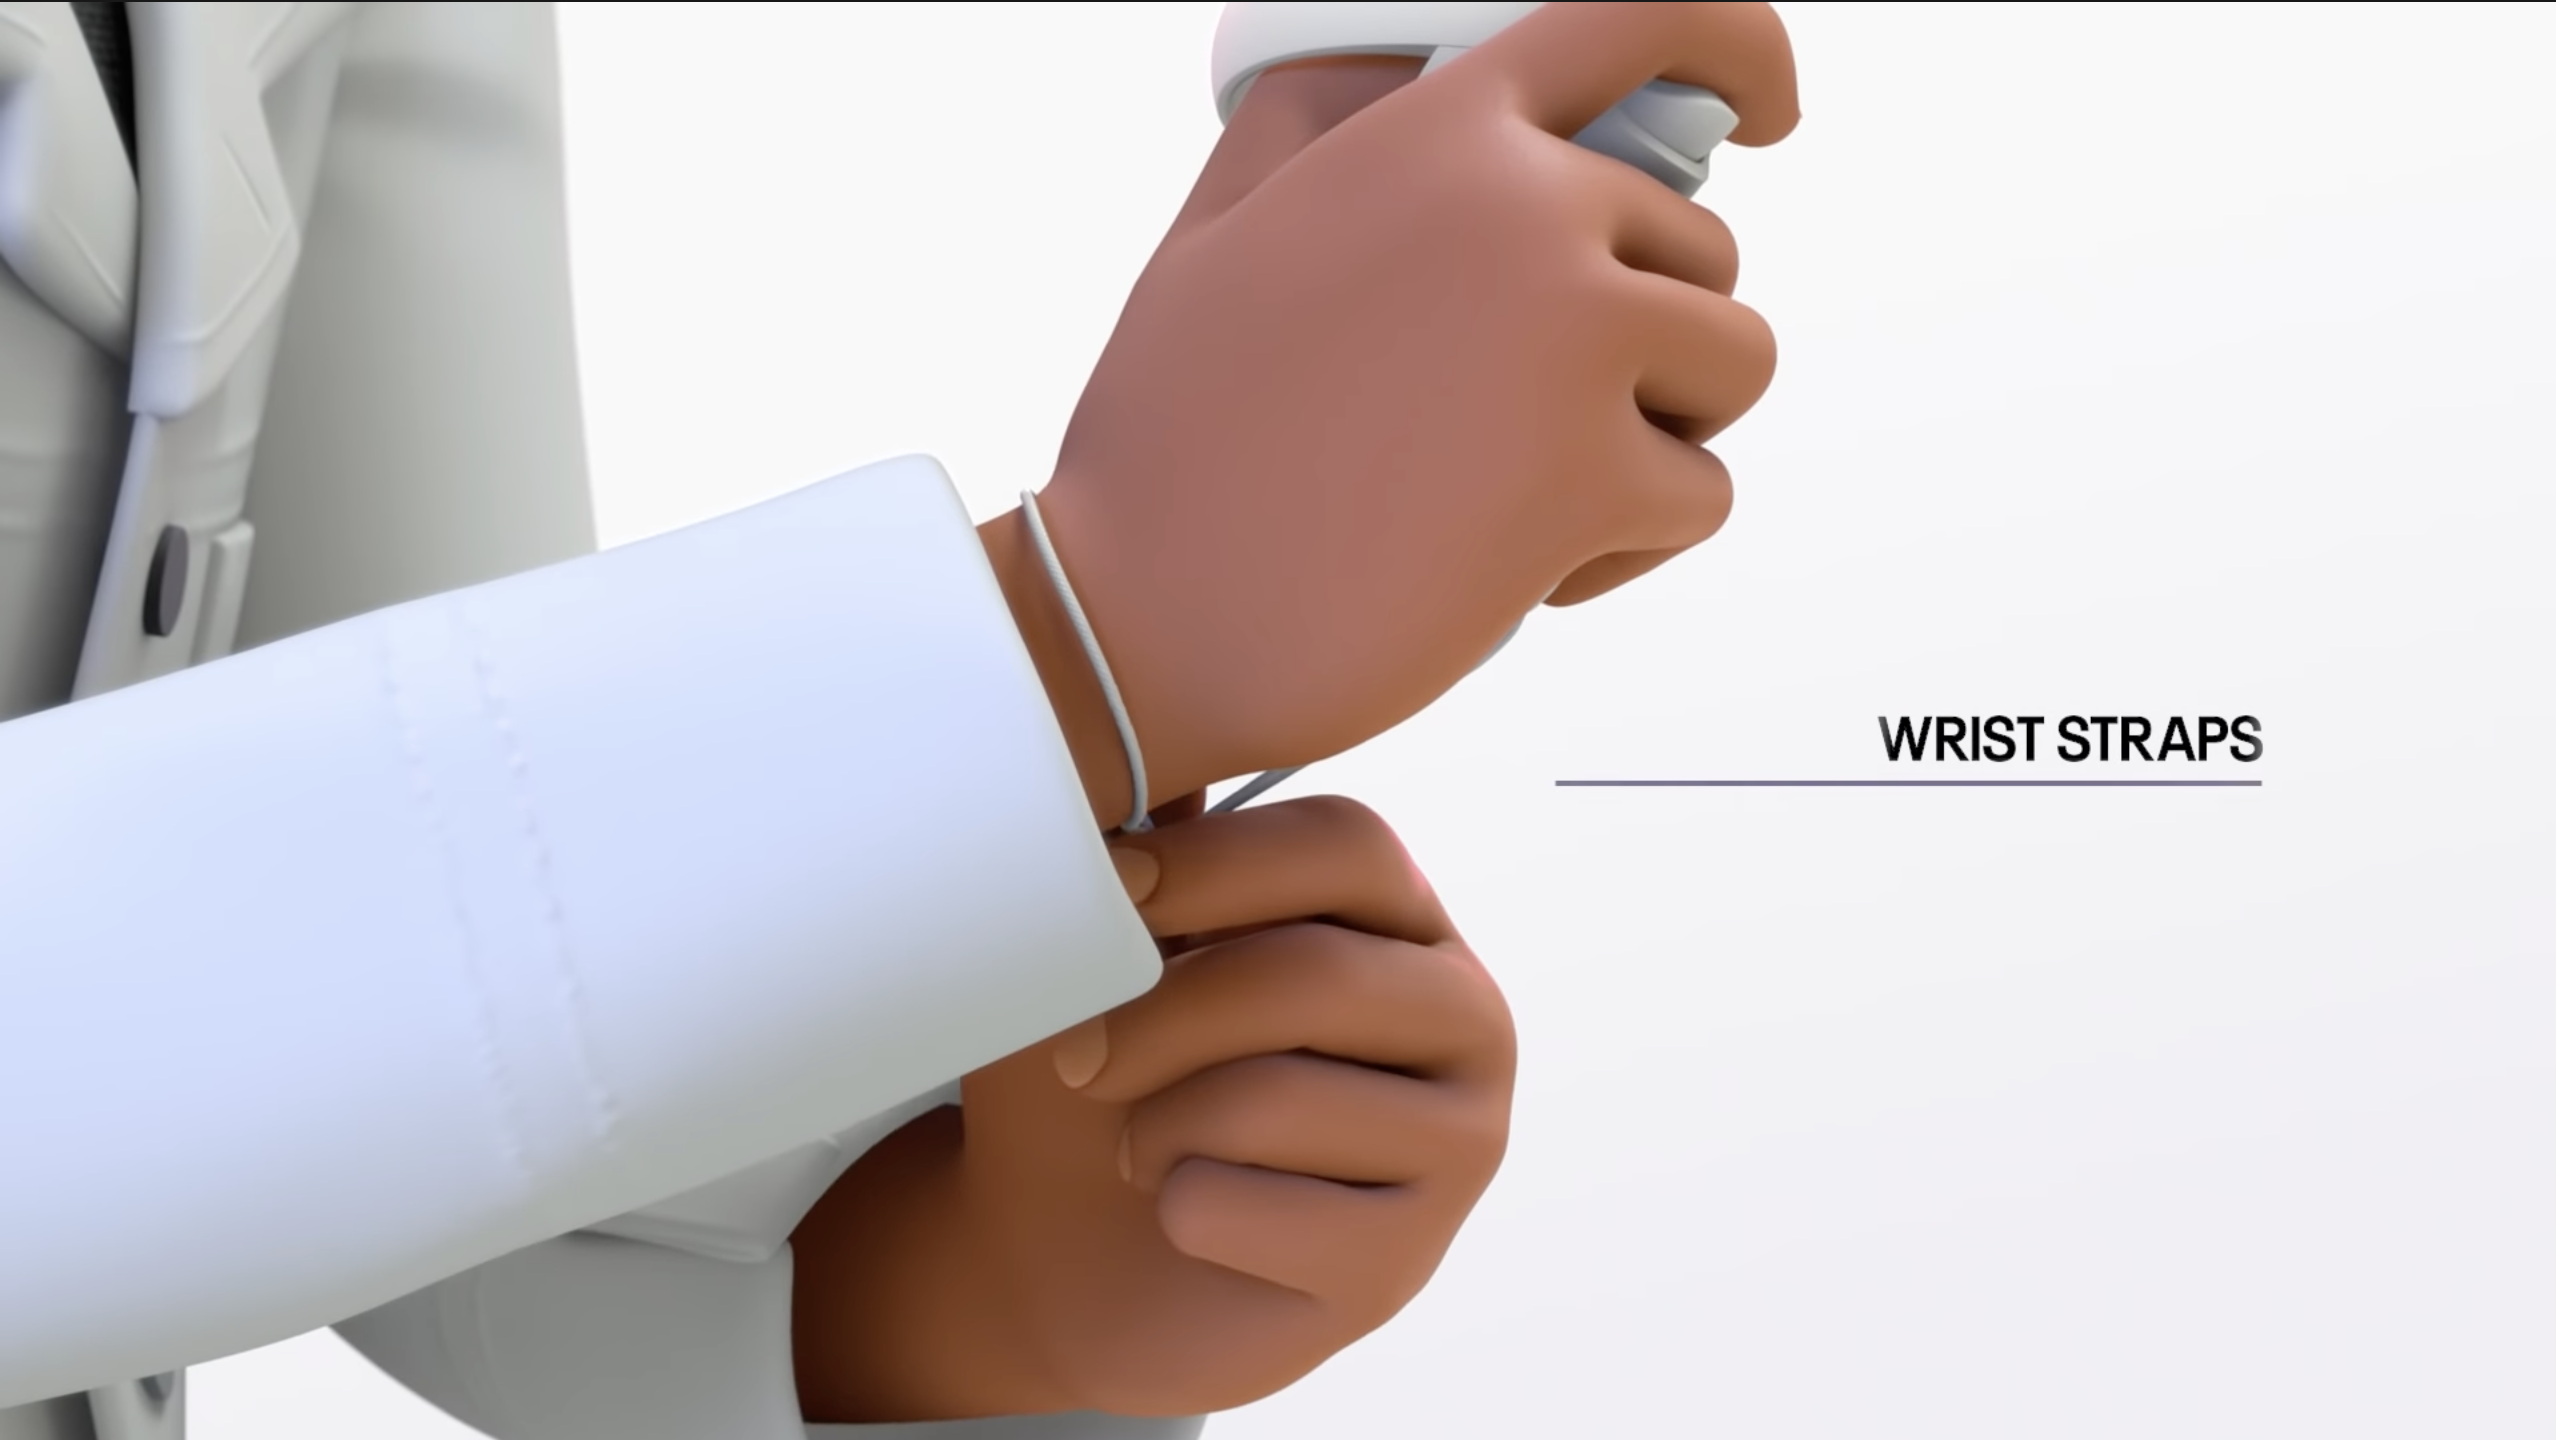
- Controller Safety: Attach the safety wrist straps to each of your controllers. Place your wrist through the straps each time you use the controllers to prevent dropping or accidentally throwing the controllers while using VR apps.
Take frequent breaks when using VR. Prolonged use can cause dizziness and nausea.
Caring for Hardware
Safely storing your Quest 2 when out of use will protect your device and keep it in good working order. The Meta Quest 2 Safety Manual suggests the following precautions:
- Protect your headset lenses from direct sunlight. The lenses of the Quest 2 require special care to keep the device working correctly. Sunlight will damage the lenses and harm the visuals on the device.
- Store your Quest 2 headset and controllers in the storage case (included in the box) when not in use.
- Control the temperature of the room in which your device is stored. Extreme temperatures (below 32℉ or above 100℉) can damage your device. If the Quest 2 overheats during use, you will receive a warning on the device. Immediately remove the device and wait for it to cool down before you use it again.
- Keep your devices away from liquids or rooms with very high humidity.
- Remove the batteries from your Touch controllers when they are out of use for an extended period (weeks or longer). Batteries can leak and damage the controllers when left unattended.
Cleaning Instructions
Meta recommends carefully cleaning your Quest 2 and controllers regularly. Follow the guidelines below to keep your devices clean and undamaged.
- Only use a dry cloth to clean the outside of the headset.
- Use soft, non-scratchy antibacterial wipes on the controllers, straps, and foam that touches your face. Do NOT use alcohol-based cleaners.
- Apply a dry microfiber cloth to the lenses. Start in the center of the lens and rub in small circles out to the edges.
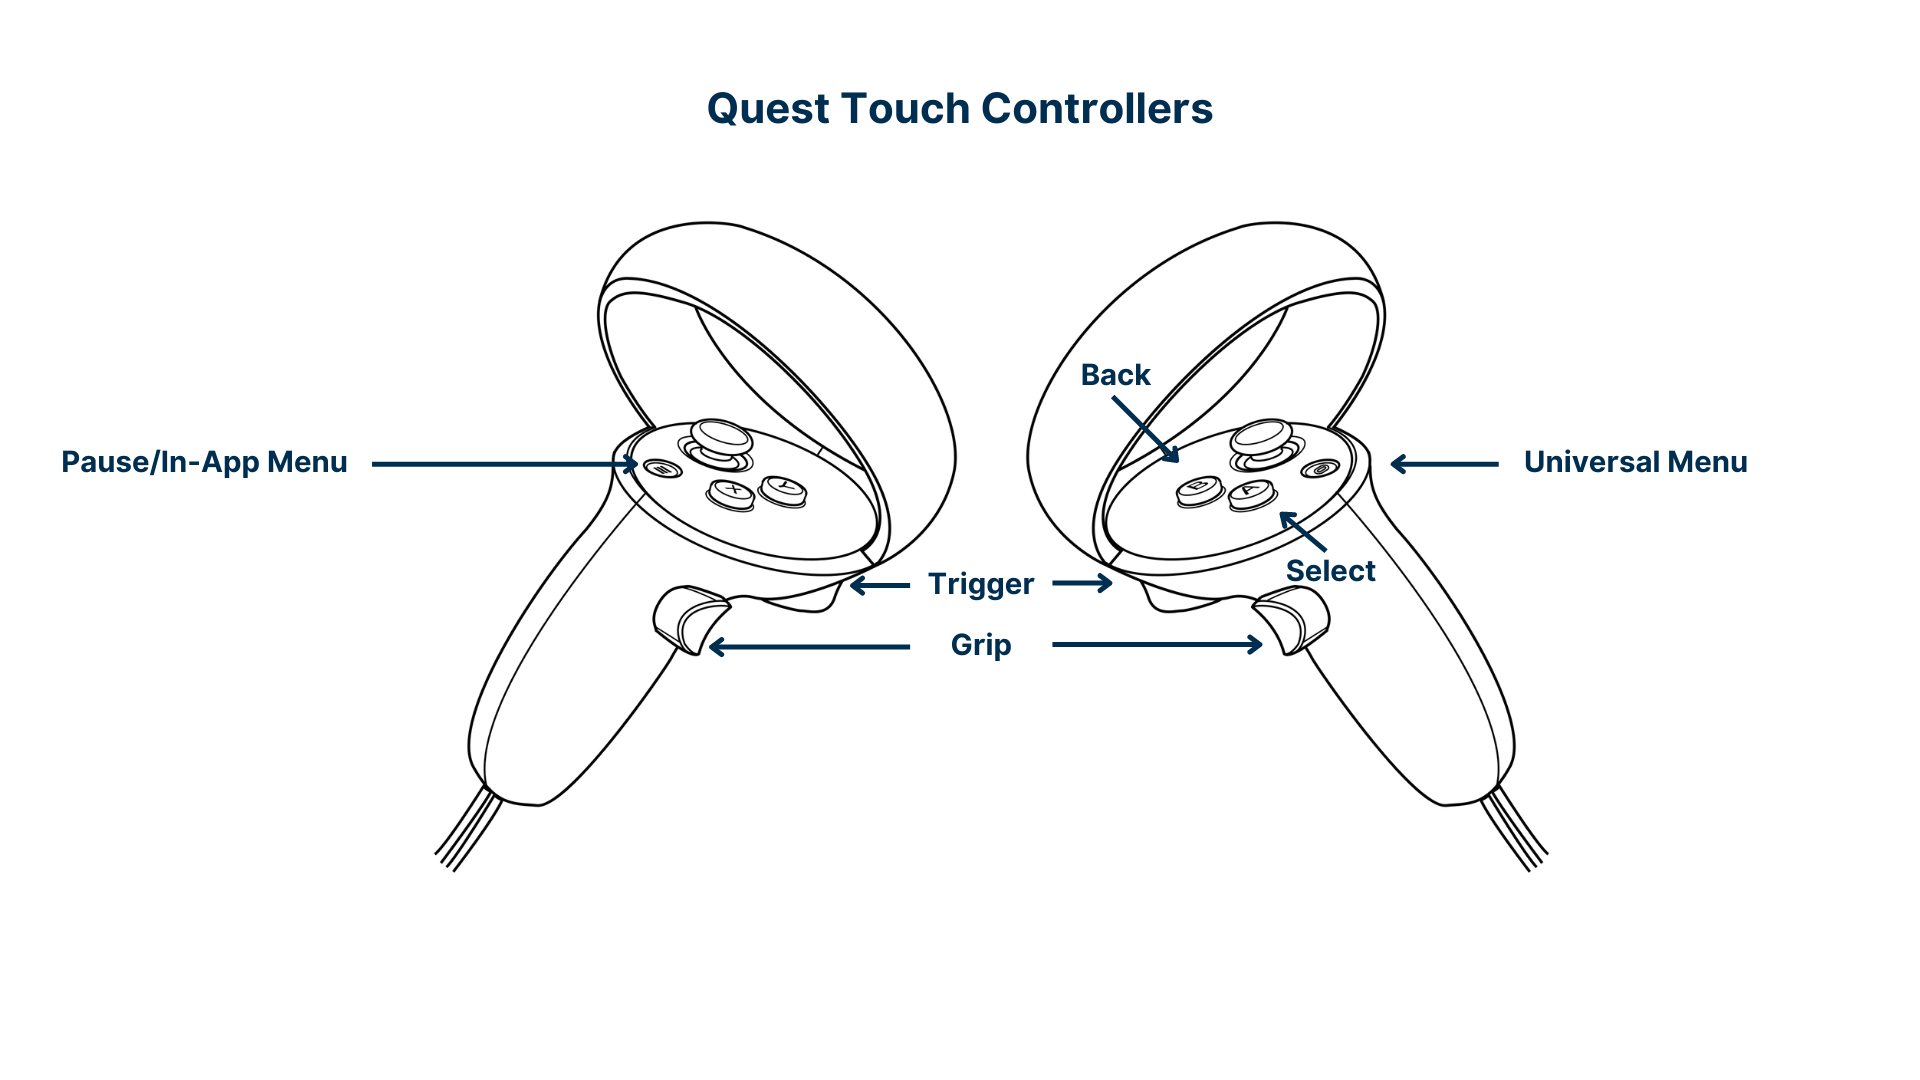
Navigating Your Quest 2 and the Universal Menu
Review the diagram below to learn some of the commonly used controls for Meta Quest 2. Then, watch the following video for an in-depth tour of the user experience.
VR Together
Multiplayer
You can enjoy the Quest 2 on your own, but it’s also a great experience with friends. Follow the steps below to connect to other Quest 2 owners through an app.
- Select an App that supports multiplayer mode. Then, click the Oculus Button on the right controller to open the Universal Menu.
- Open the People tab.
- Click on an account and press the Invite to App button. If the other user accepts they join your session. From there, follow the App’s instructions for playing with a group.
Watch the video below from Meta for more information.
Learn to Cast
You don’t need multiple VR headsets to have fun with a group. You can also share your play experience on a phone, TV, or computer on the same wireless network so that everyone around you can see what you’re seeing. There are two options to start casting.
- App/Website: To cast to a phone or TV, open the Oculus app on your phone. Tap Menu, then Casting. Tap the icon for your headset and the device you wish to cast to. Then press Start. To cast to a computer, go to oculus.com/casting and log into your account.
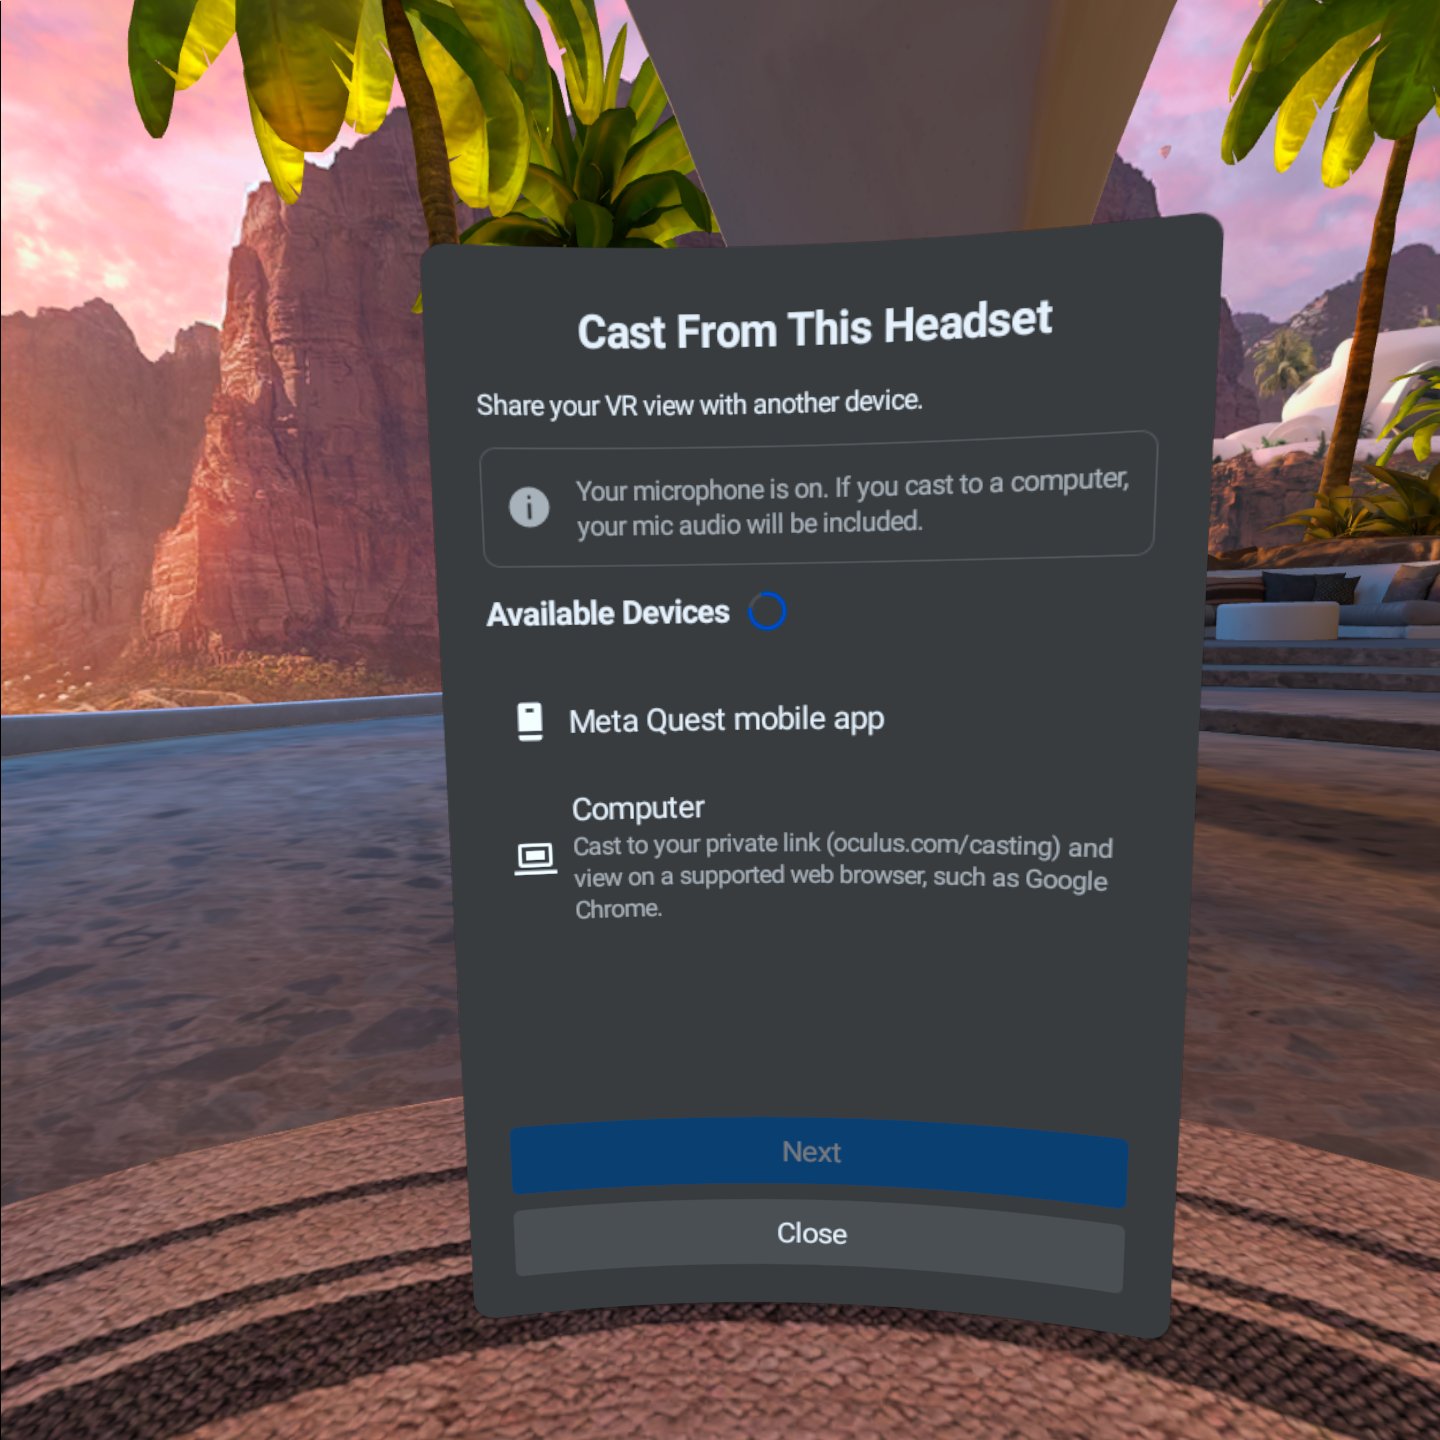
- Headset Casting: Click the Oculus button on your right hand controller. In the menu, click on the Cast from this Headset button (see the image below.) Choose a device and click Start.
More Resources
If you’re brand new to VR, we recommend starting by downloading First Steps for Quest 2 and First Contact VR from the App Store. These free apps are a great way to practice interacting with VR and using the Touch controllers.
to save your progress